Introducing my first 3D project
Saturday 6 March 2021
3D
I did not buy my 3D printer to only print files that are available for download. The whole idea was to learn how to create my own designs. When I got my printer, I already played a little bit with OpenSCAD and made a few ladder feet. But that was based on an existing design that I only modified. It was a nice starter, but now it is time to start from scratch.
I came up with some starting points: it should be something fun. If it is useful in daily life, then that is a plus, but it is not a requirement. It would be nice if the project includes electronics. I want to learn more about OpenSCAD, so that’s the tool to use. Preferably no drilling, cutting, or sawing required when assembling the final object.
While watching a YouTube movie, I noticed a name sign in the background. Since I spend a lot of time in video calls: why not create a name sign pointing to my website? Sounds like a plan!
What should be the “name” part of the sign?
To visit this website, you can use either https://addiejanssen.com or https://www.addiejanssen.com.
Entering addiejanssen.com in any modern browser should work; the browser will add the techie stuff to it, no need to include that in the name sign.
Done; addiejanssen.com it is.
Which font to use?
Open any application to work with text and you will find an incredible long list of font options. But which one looks fun, but is not too much? Which ones can be printed using a 3D printer? A bit of searching resulted in some advice: use a bold font. They have “meat on the bone”, which makes printing easier. Make sure that there are no funny small lines or dots floating around. They may look great but are a problem when printing.
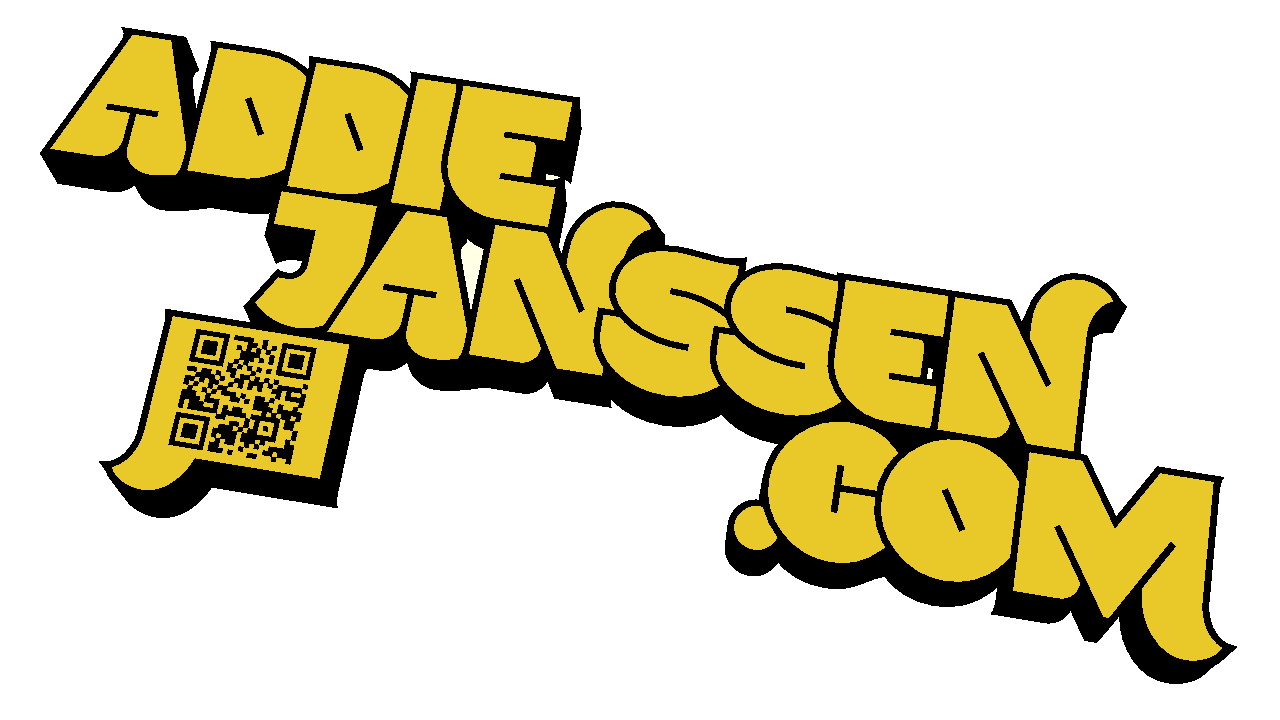
I found a website that allowed me to enter my text and view it in different fonts and styles. Eventually, that brought me to one I liked: Namskow. And this is what I got:

Looks like we have found a font.
How to include electronics in this thing?
When I saw the example, I thought: this sign needs lights and I want to be able to change the color of it. It is way too easy to just have all characters with the same color. Wouldn’t it be nicer if I can control the color and light intensity of each character at any point in time? And how about doing some fancy animations? And I want to be able to control all this from my web browser. Nice, let’s do that!
We need LEDs in each character and a microcontroller to control them. The microcontroller needs to be able to connect to the network and it should be able to act as a webserver. Job done; electronics included!
On to the next step of the journey
The setup is now more or less clear, and it is time to dive into the details. By the time I am creating this post, I have finished the design, and I am printing the individual parts. Eventually, the result should (more or less) look like this:
The total expected print time adds up to a whopping 165 hours… More than enough time to write more about the design process and all the things I have learned over the next few weeks…
Want to respond to this post?
Look me up on GitHub,
 Facebook or
 LinkedIn.
Tags
- 3D 9
- Air Safari 19
- Australia 67
- BlackBerry 1
- Blue Sky Flying Adventures 33
- By Boat 4
- By Bus 2
- Dev Containers 3
- Domoticz 2
- Driving 31
- Facebook 1
- Flying 44
- Gallery 2 7
- Google Maps 4
- Hugo 1
- Jekyll 4
- Linux 3
- NextGEN Gallery 5
- Owning a plane 8
- Podman 3
- Red Centre Tour 19
- Singapore 3
- Tasmania 10
- USA 33
- WSL 2 4
- Walking 42
- WordPress 17