Let’s build a home for the 3D printer
Saturday 2 January 2021
3D
Since my last post, I have printed a lot of stuff on my 3D printer and learned a lot about the printer itself and the printing process. The printer was left on the table where I put it together and that was a smart move during the first weeks. Minor adjustments were required to the printer itself and it was helpful to be able to get to all the parts easily. But then it was time to find the spot where it should live from now on.
Some background information to start with
A 3D printer is a delicate piece of equipment and it is not smart to just leave it sitting on a table. It will collect dust and that will impact the performance of the printer at some point in time. It’s clear that it needs to be in an enclosure.
Another reason to put the printer in an enclosure is noise. The movement of the printer bed and head cause vibrations that can get amplified by the table it is sitting on top of. Here’s a nice video about the topic:
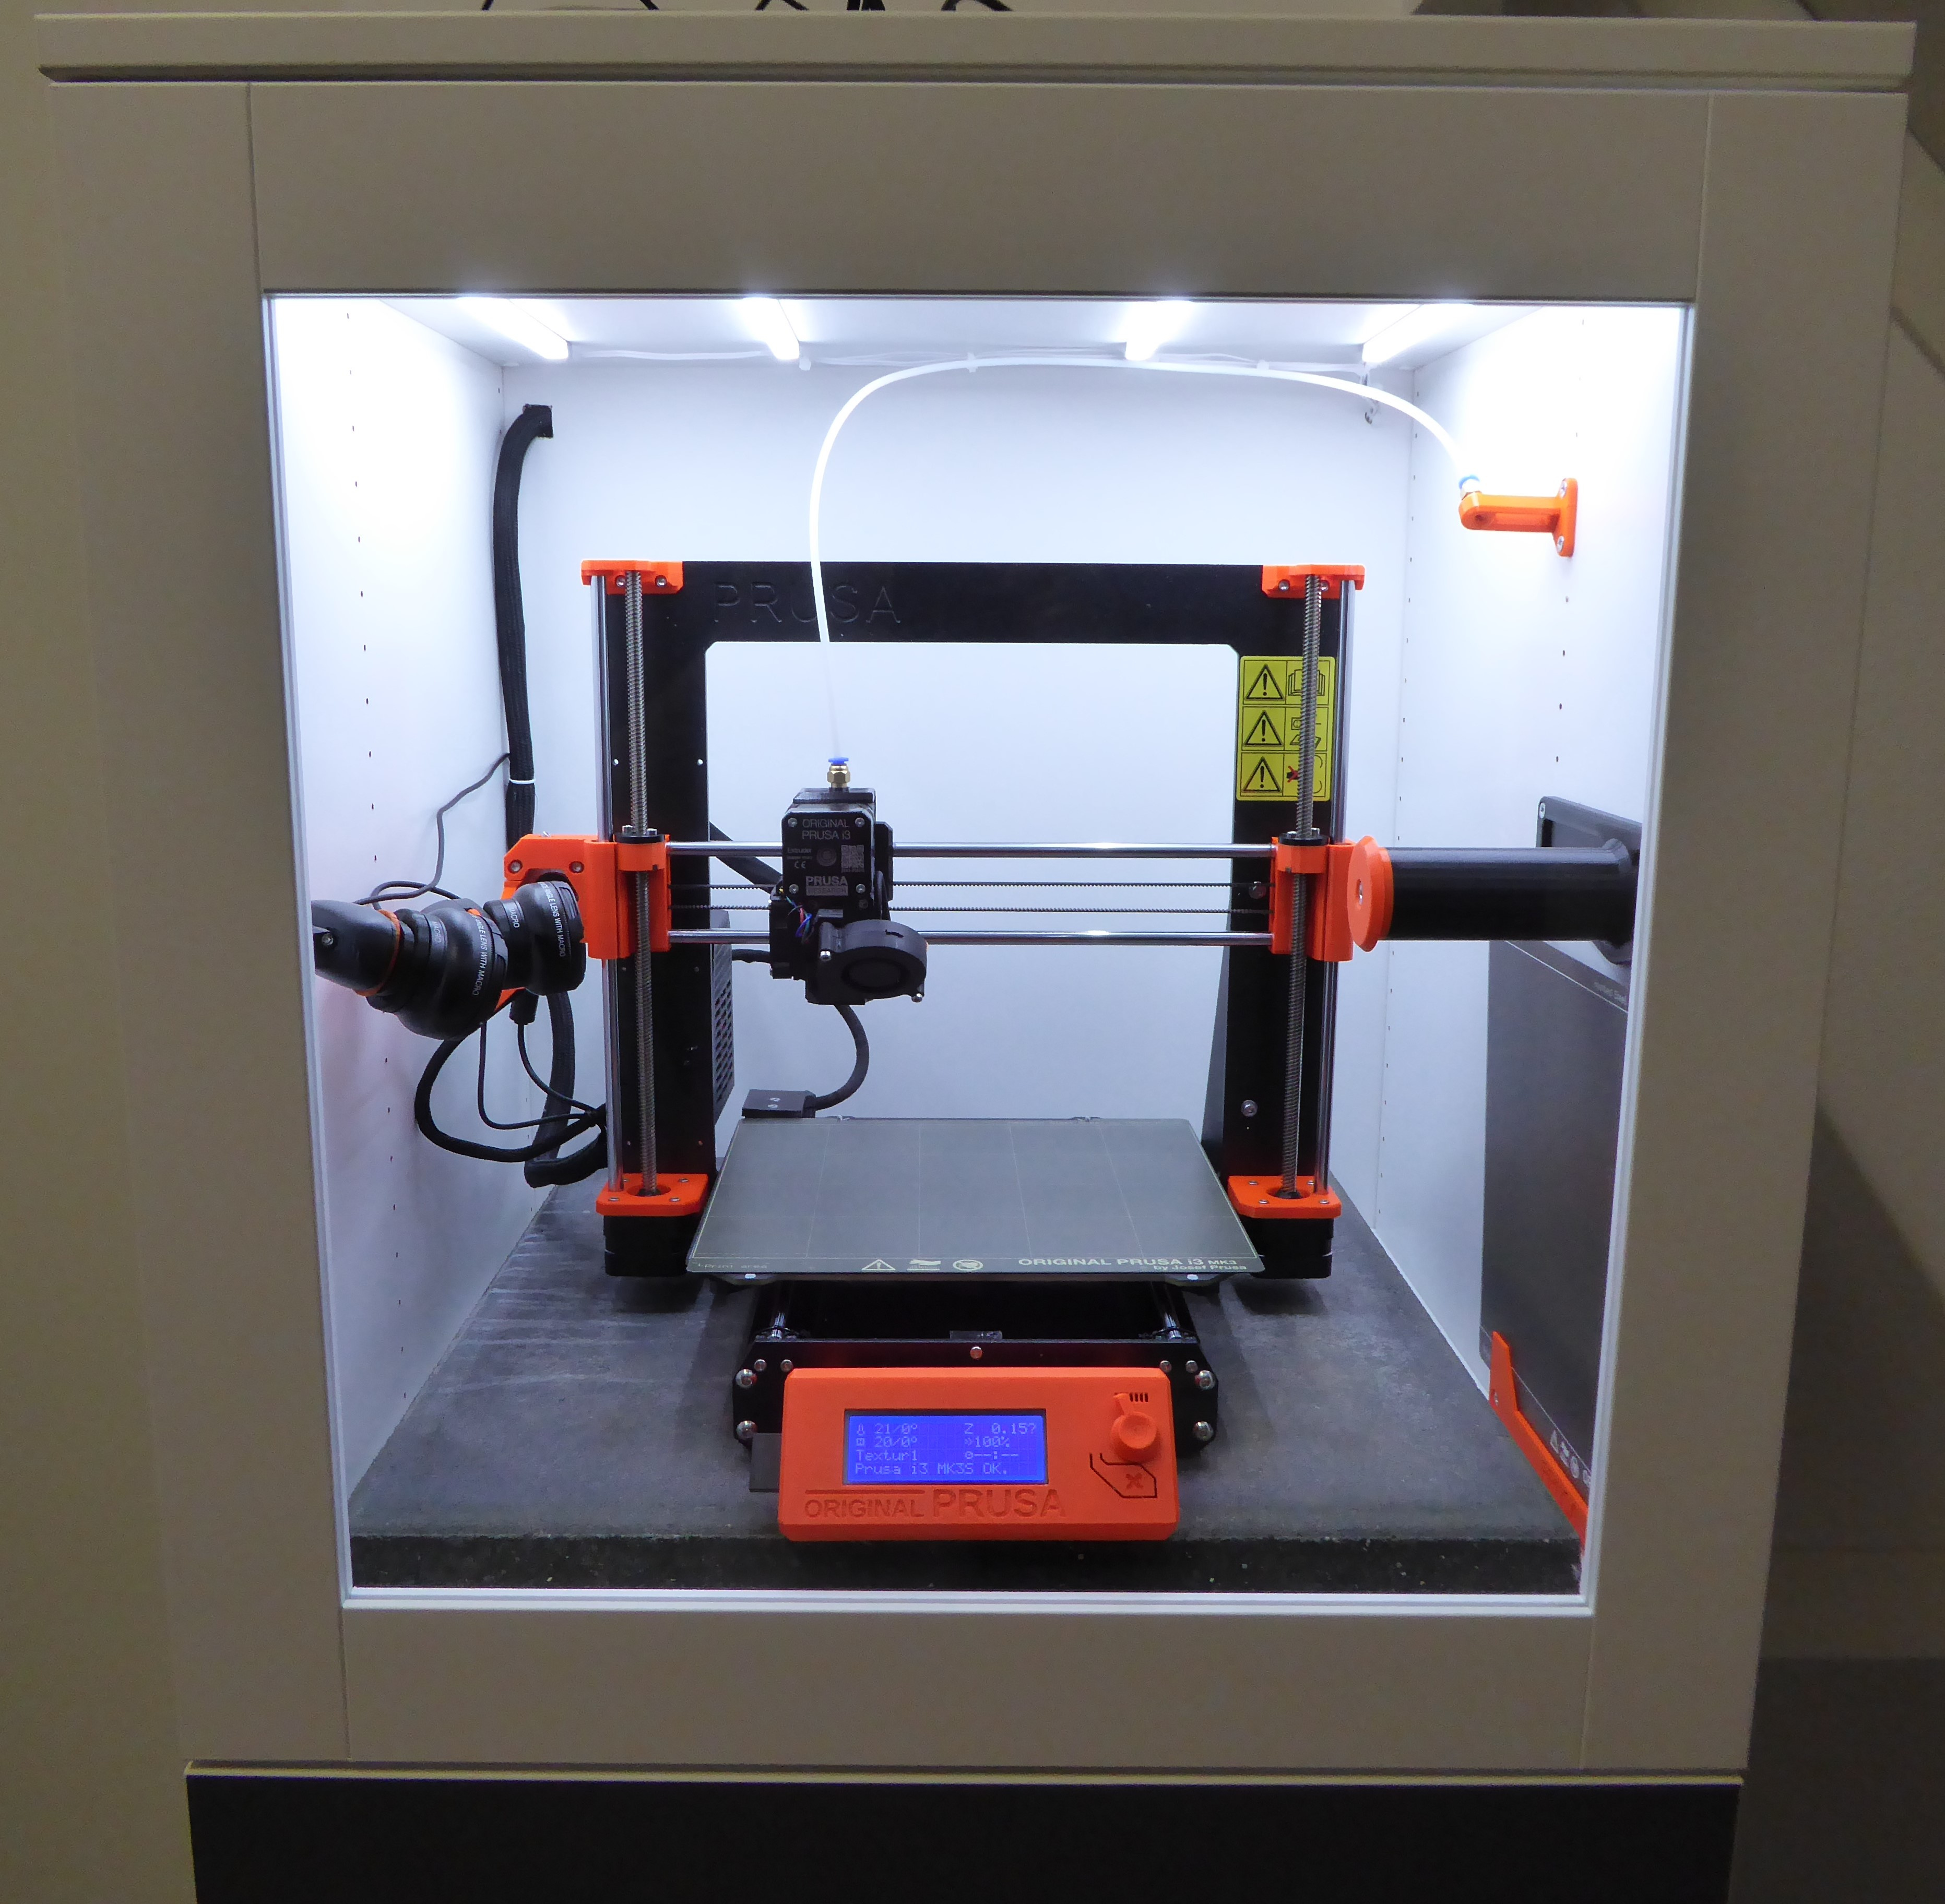
As shown in the video, a nice option is to put the printer on top of a concrete tile and that is exactly what I did. And I agree with the creator of the video: this is an impressive improvement.
The downside of putting a 3D printer in an enclosure is heat. The basic concept of a 3D printer is to melt plastic and in order to make sure that the model sticks to the printer bed, the bed is heated. When printing with, for example, PET, the nozzle of the printer will be heated up to 230 – 240 degrees and the printer bed 85 – 90 degrees. When putting the printer in an enclosure, that heat can’t go anywhere unless there is ventilation. Now for some materials the heat is a good thing, for others there is no benefit. It is for sure not a good thing for the power supply of the printer and the temperature should stay below certain values, otherwise the electronics of the printer will not be able to get rid of their heat as well.
So, what are the options out there?
Well, I am for sure not the first one that bought a 3D printer and was thinking about where to put it. A quick search resulted in a link to this blog article: How to build a simple, cheap enclosure for your 3D printer. By stacking two or more Ikea LACK side tables on top of each other and closing the sides with acrylic sheets, you get a nice 3D printer enclosure. And there are a ton of addons that can be downloaded from sites like Prusa printers and Thingiverse for this setup.
Lots of people assembled a LACK enclosure; it is a very popular setup. However, it would not work for me: the concrete tile underneath my printer is too big for the enclosure. Now, there is a solution for that: use a smaller tile or cut it up. I didn’t fancy these solutions and continued my search.
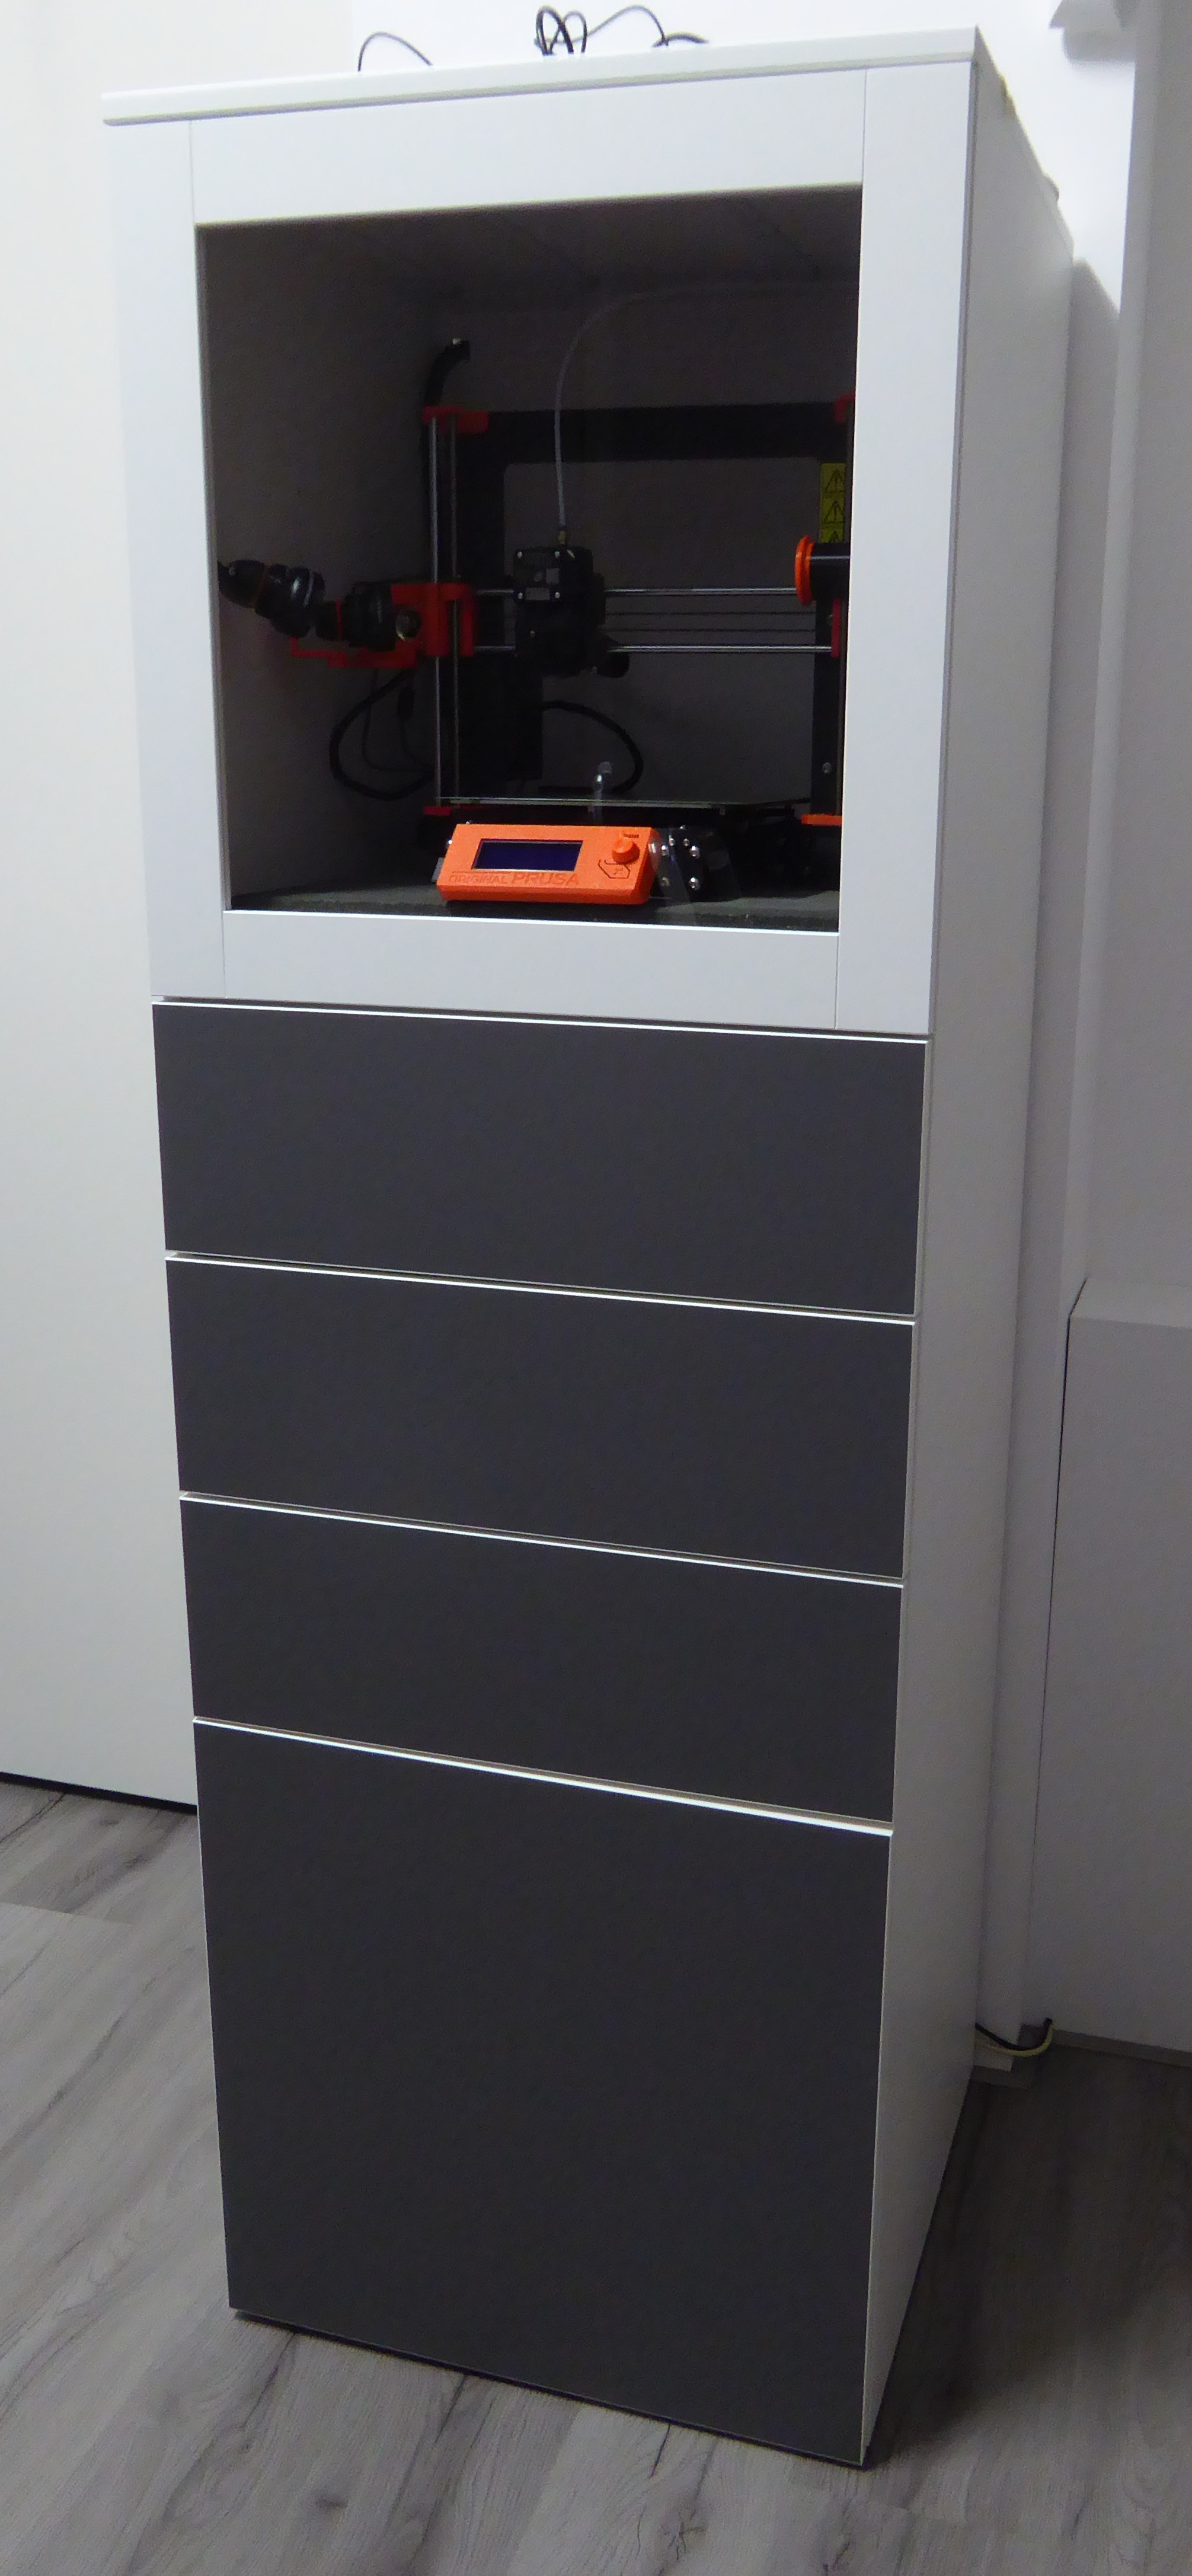
Another popular setup is based on another Ikea product: PLATSA. The benefit of using this product line is that there is no need to print many components to create the enclosure and, in the end, you will have a nice clean setup (although it still looks like an Ikea product of course). I found some nice examples of some setups on Prusa printers and Thingiverse that got me started.
The result

The first step of the build was to order the components from Ikea:
| Item | Color | Size | Amount |
|---|---|---|---|
| PLATSA Frame | white | 60x55x60 cm | 3 |
| SPILDRA Top for storage module | white | 60x55 cm | 1 |
| VÄRD Glass door | white | 60x60 cm | 1 |
| SKATVAL Drawer | white/dark grey | 60x57x20 cm | 3 |
| SKATVAL Door | dark grey | 60x60 cm | 1 |
| HJÄLPA Soft closing hinge | 4 | ||
| LÄTTHET Leg adjustable | white | 1 |
While waiting for them to get delivered, I started printing some items that I would need later. To start with, I printed a power supply bracket. Once the printer is setup in the enclosure, I need to move the power supply out. But the power supply is also providing some structural support on the printer. The bracket is to replace that functionality.
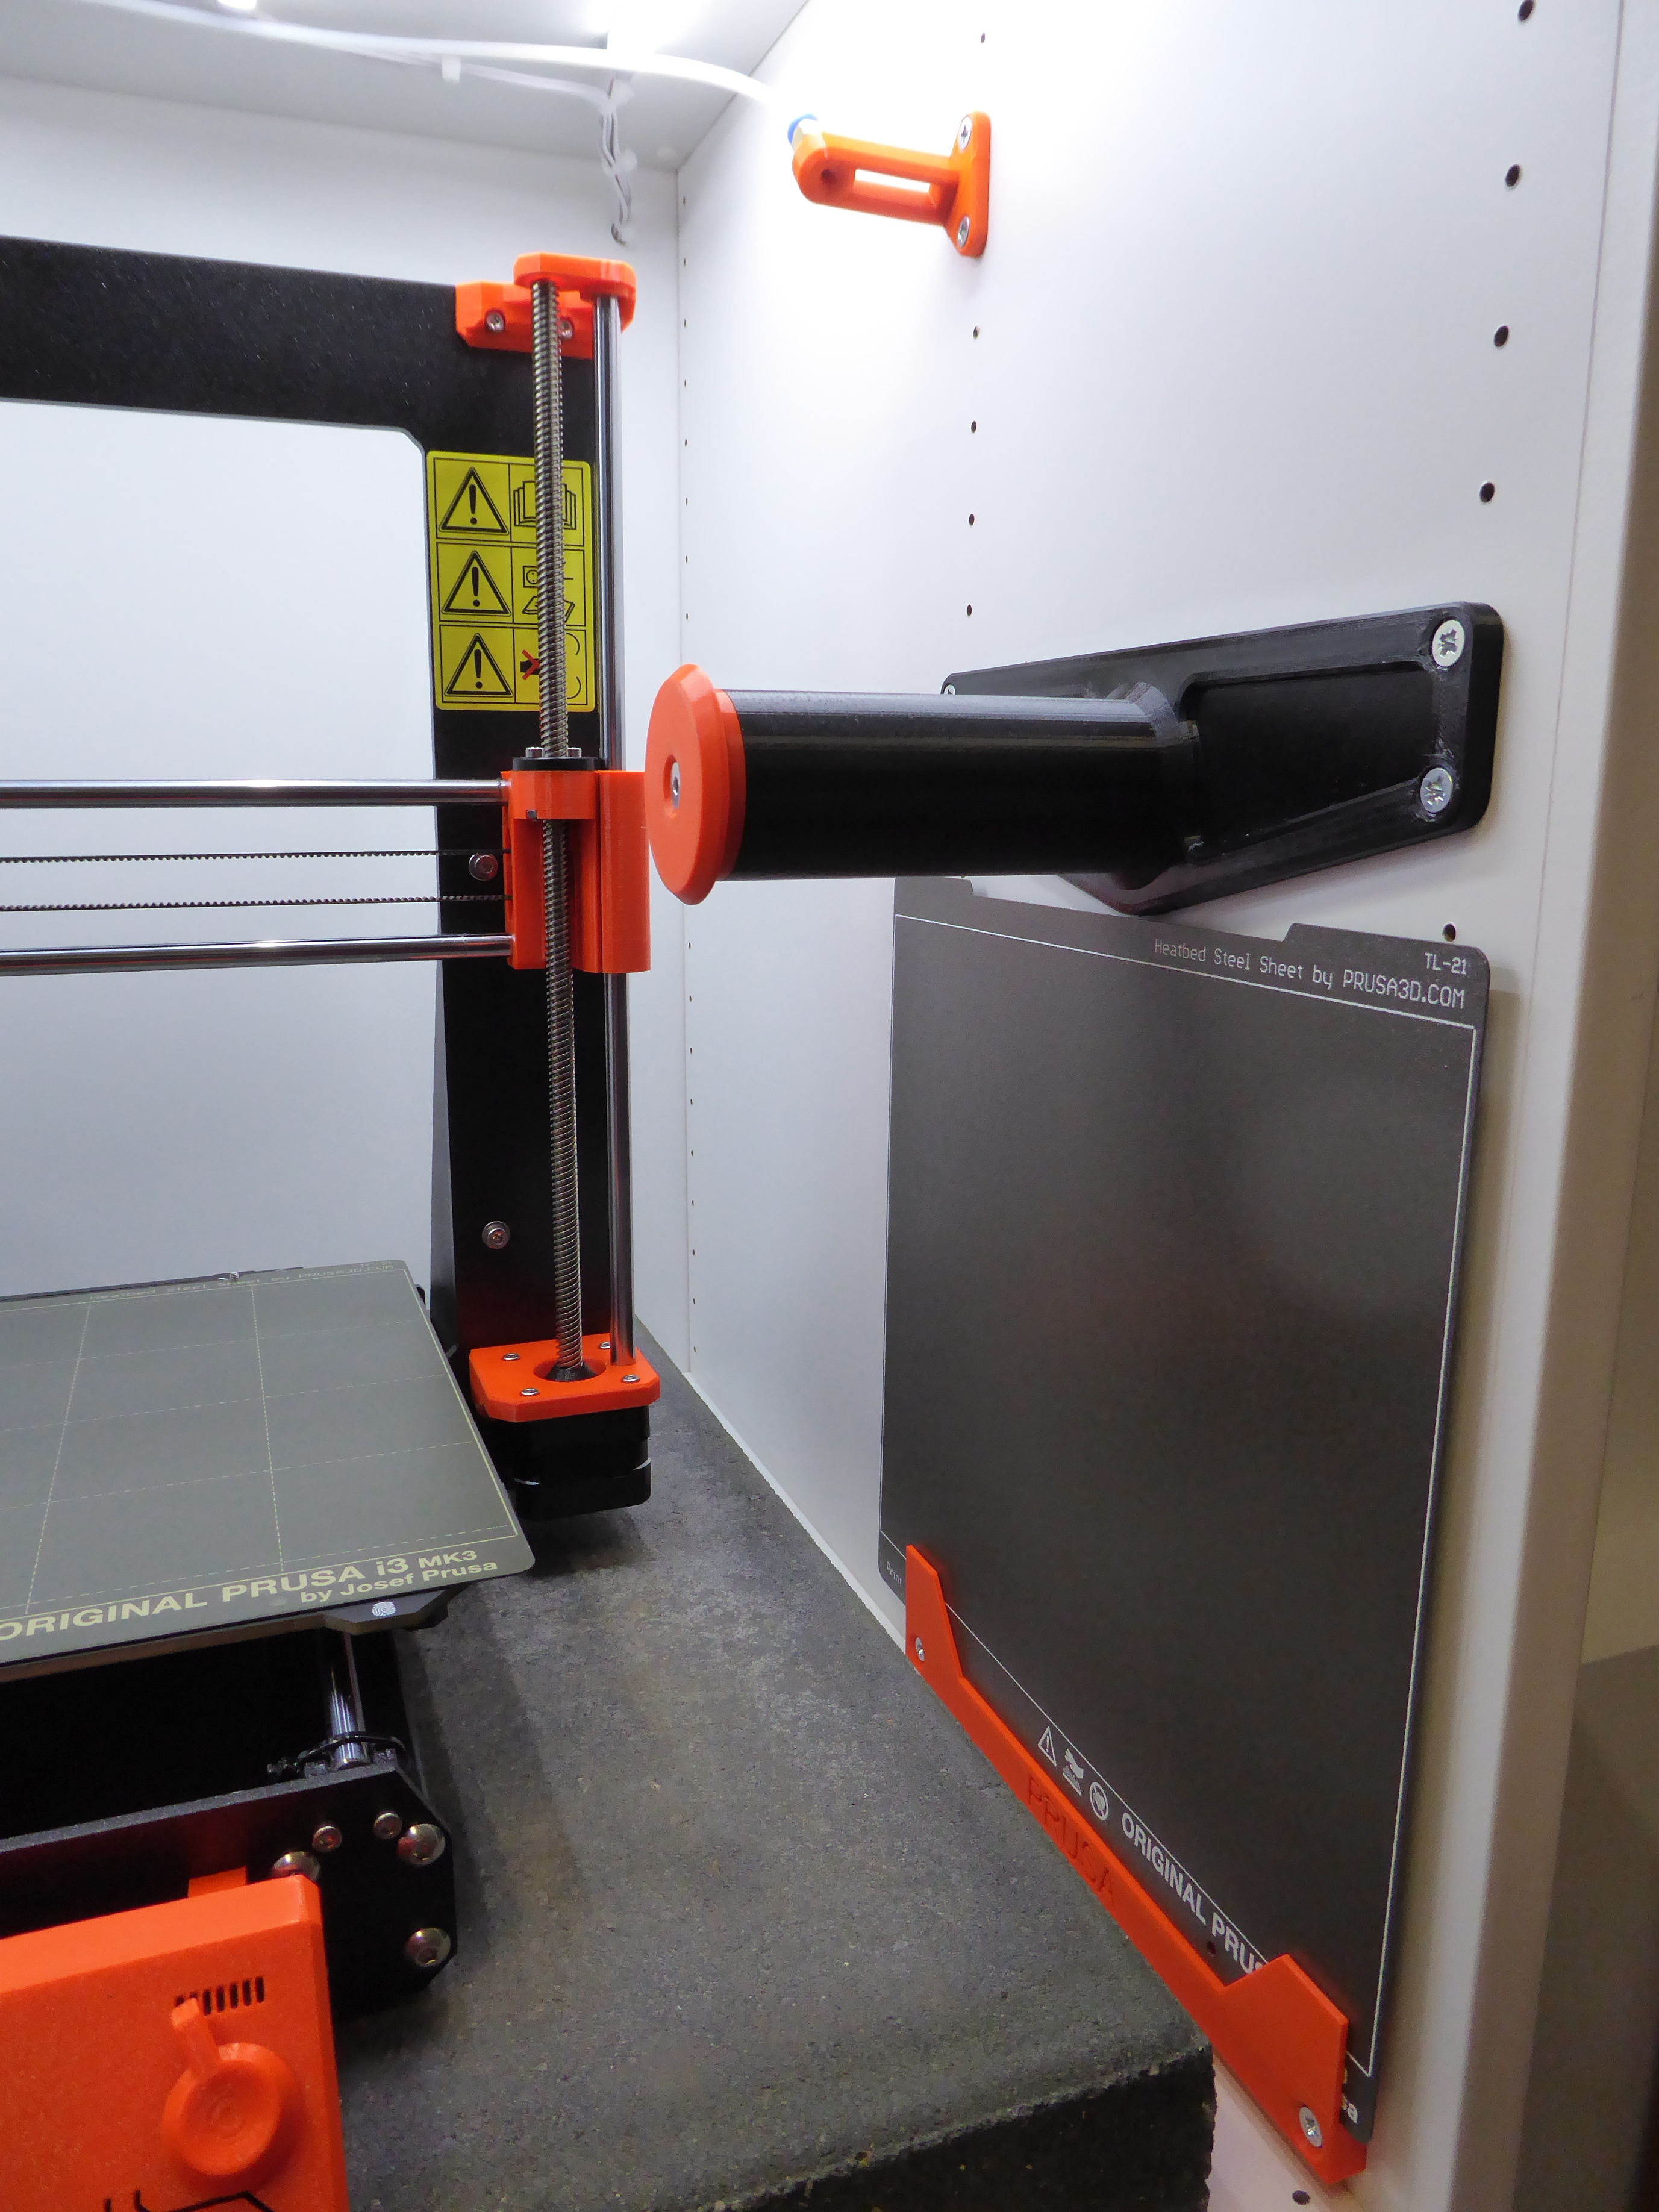
The PLATSA enclosure is too low to fit the printer with a spool of material on top of it. To fix this, I printed a spool holder to be mounted on the inside of the enclosure. Then I added a Bowden tube mount and replaced the filament sensor cover of the printer. Now it is possible to put the spool to the side and feed the material via the tube to the printer.
And finally I also printed a build plate holder to allow me to store the build plates with the printer.
Here’s the kit I ordered at Amazon to complete the setup:
| Item | Color |
|---|---|
| PC4-M6 Pneumatic Connector | |
| Teflon tube | |
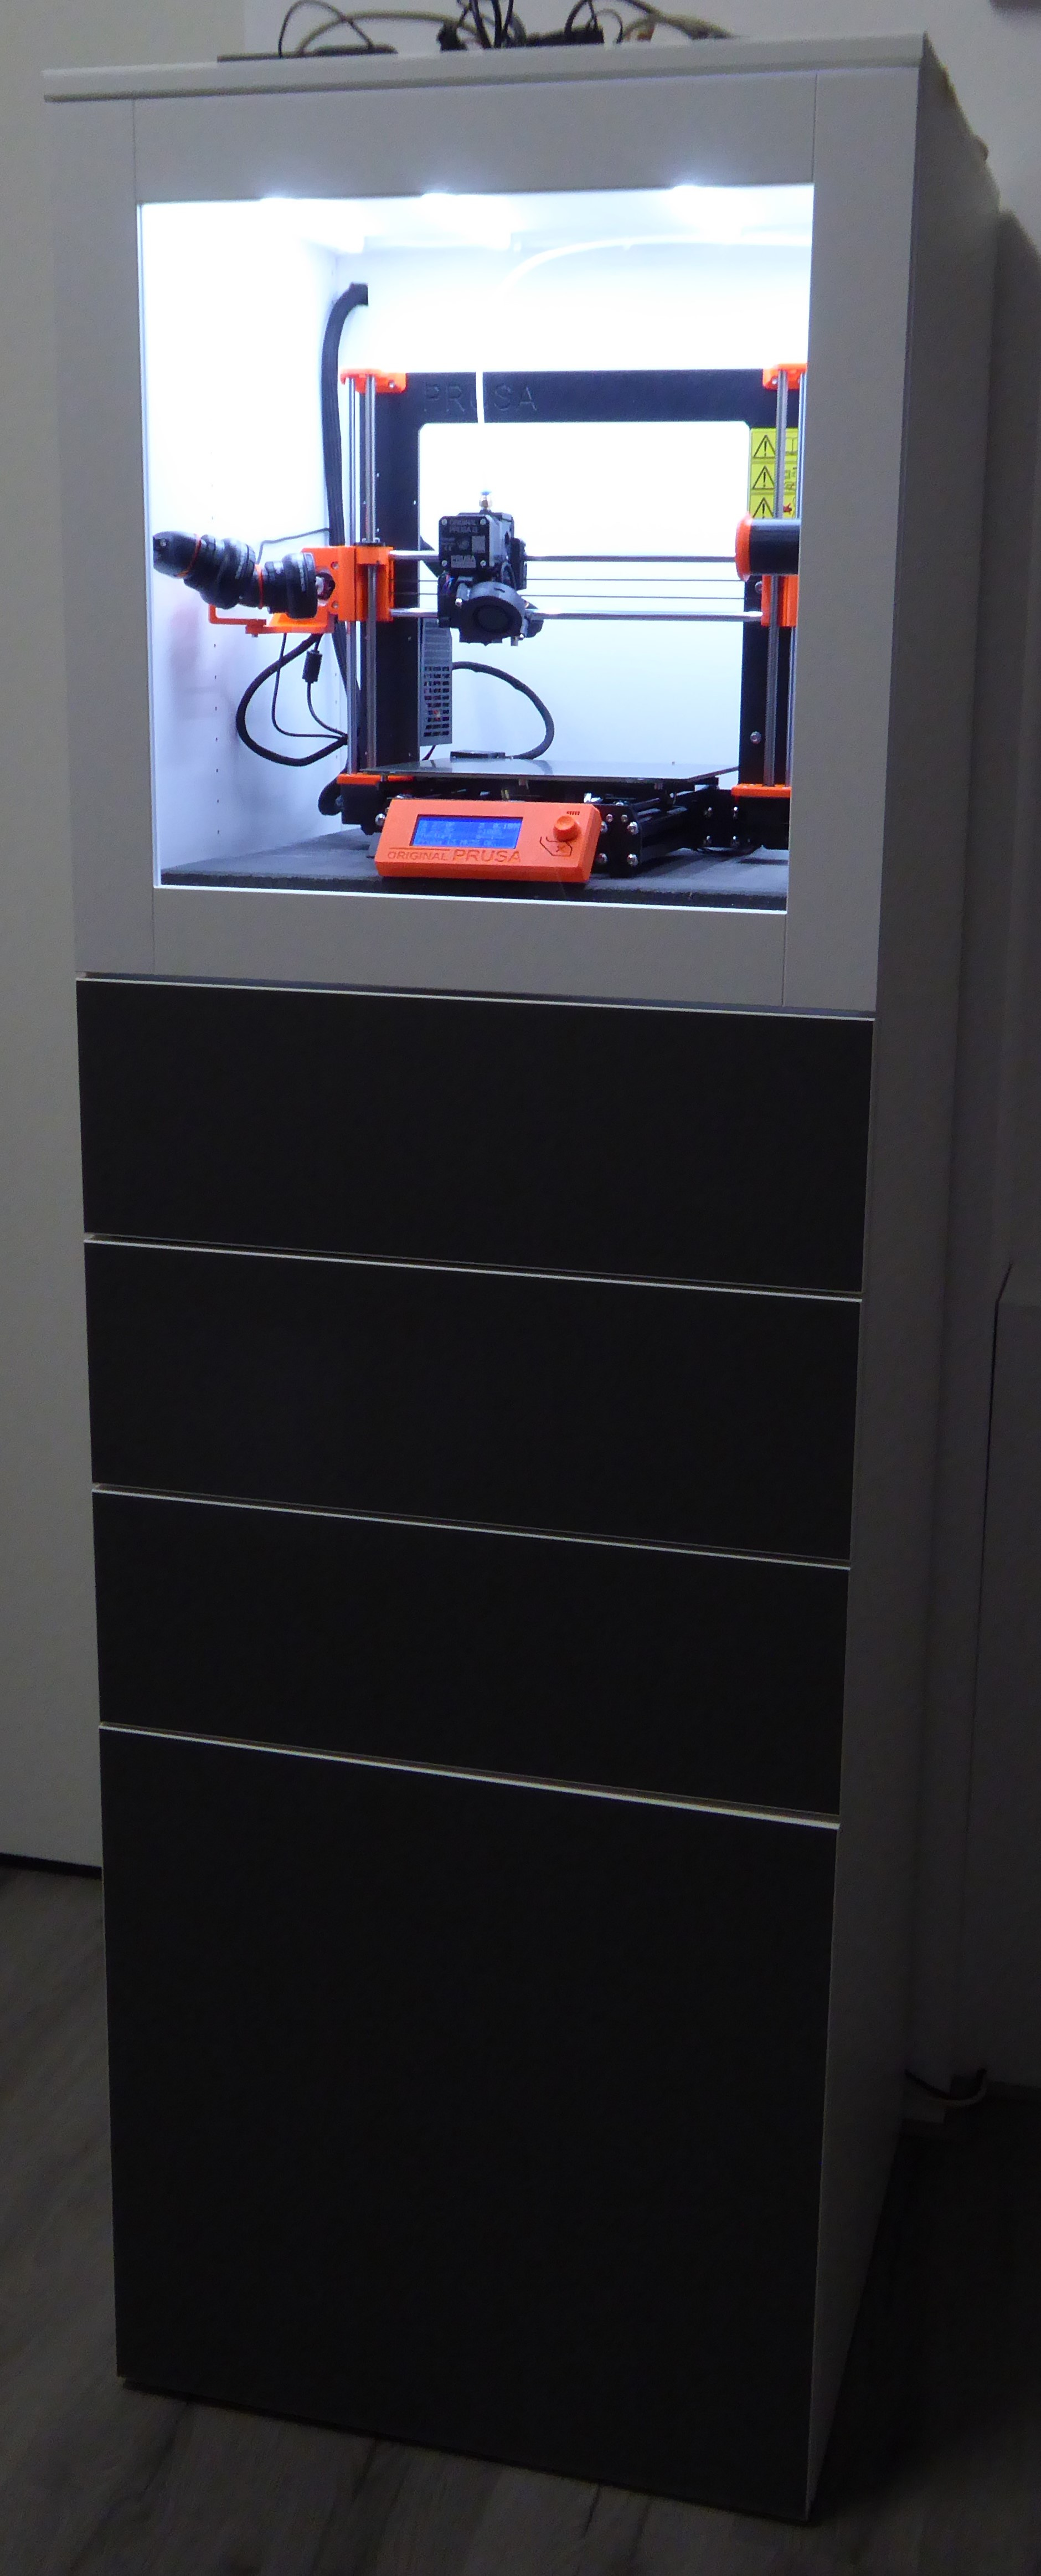
| Led Lights Bars | white 6000K |
| Cable Sleeve | black |
The printer is nicely tucked away in the enclosure and protected from dust. You can barely hear the printer when it is printing and although I did not add any ventilation, the temperature in the box does not exceed 40 degrees on longer prints. I still think it is a good idea to look at this topic later on, but this will work for now.
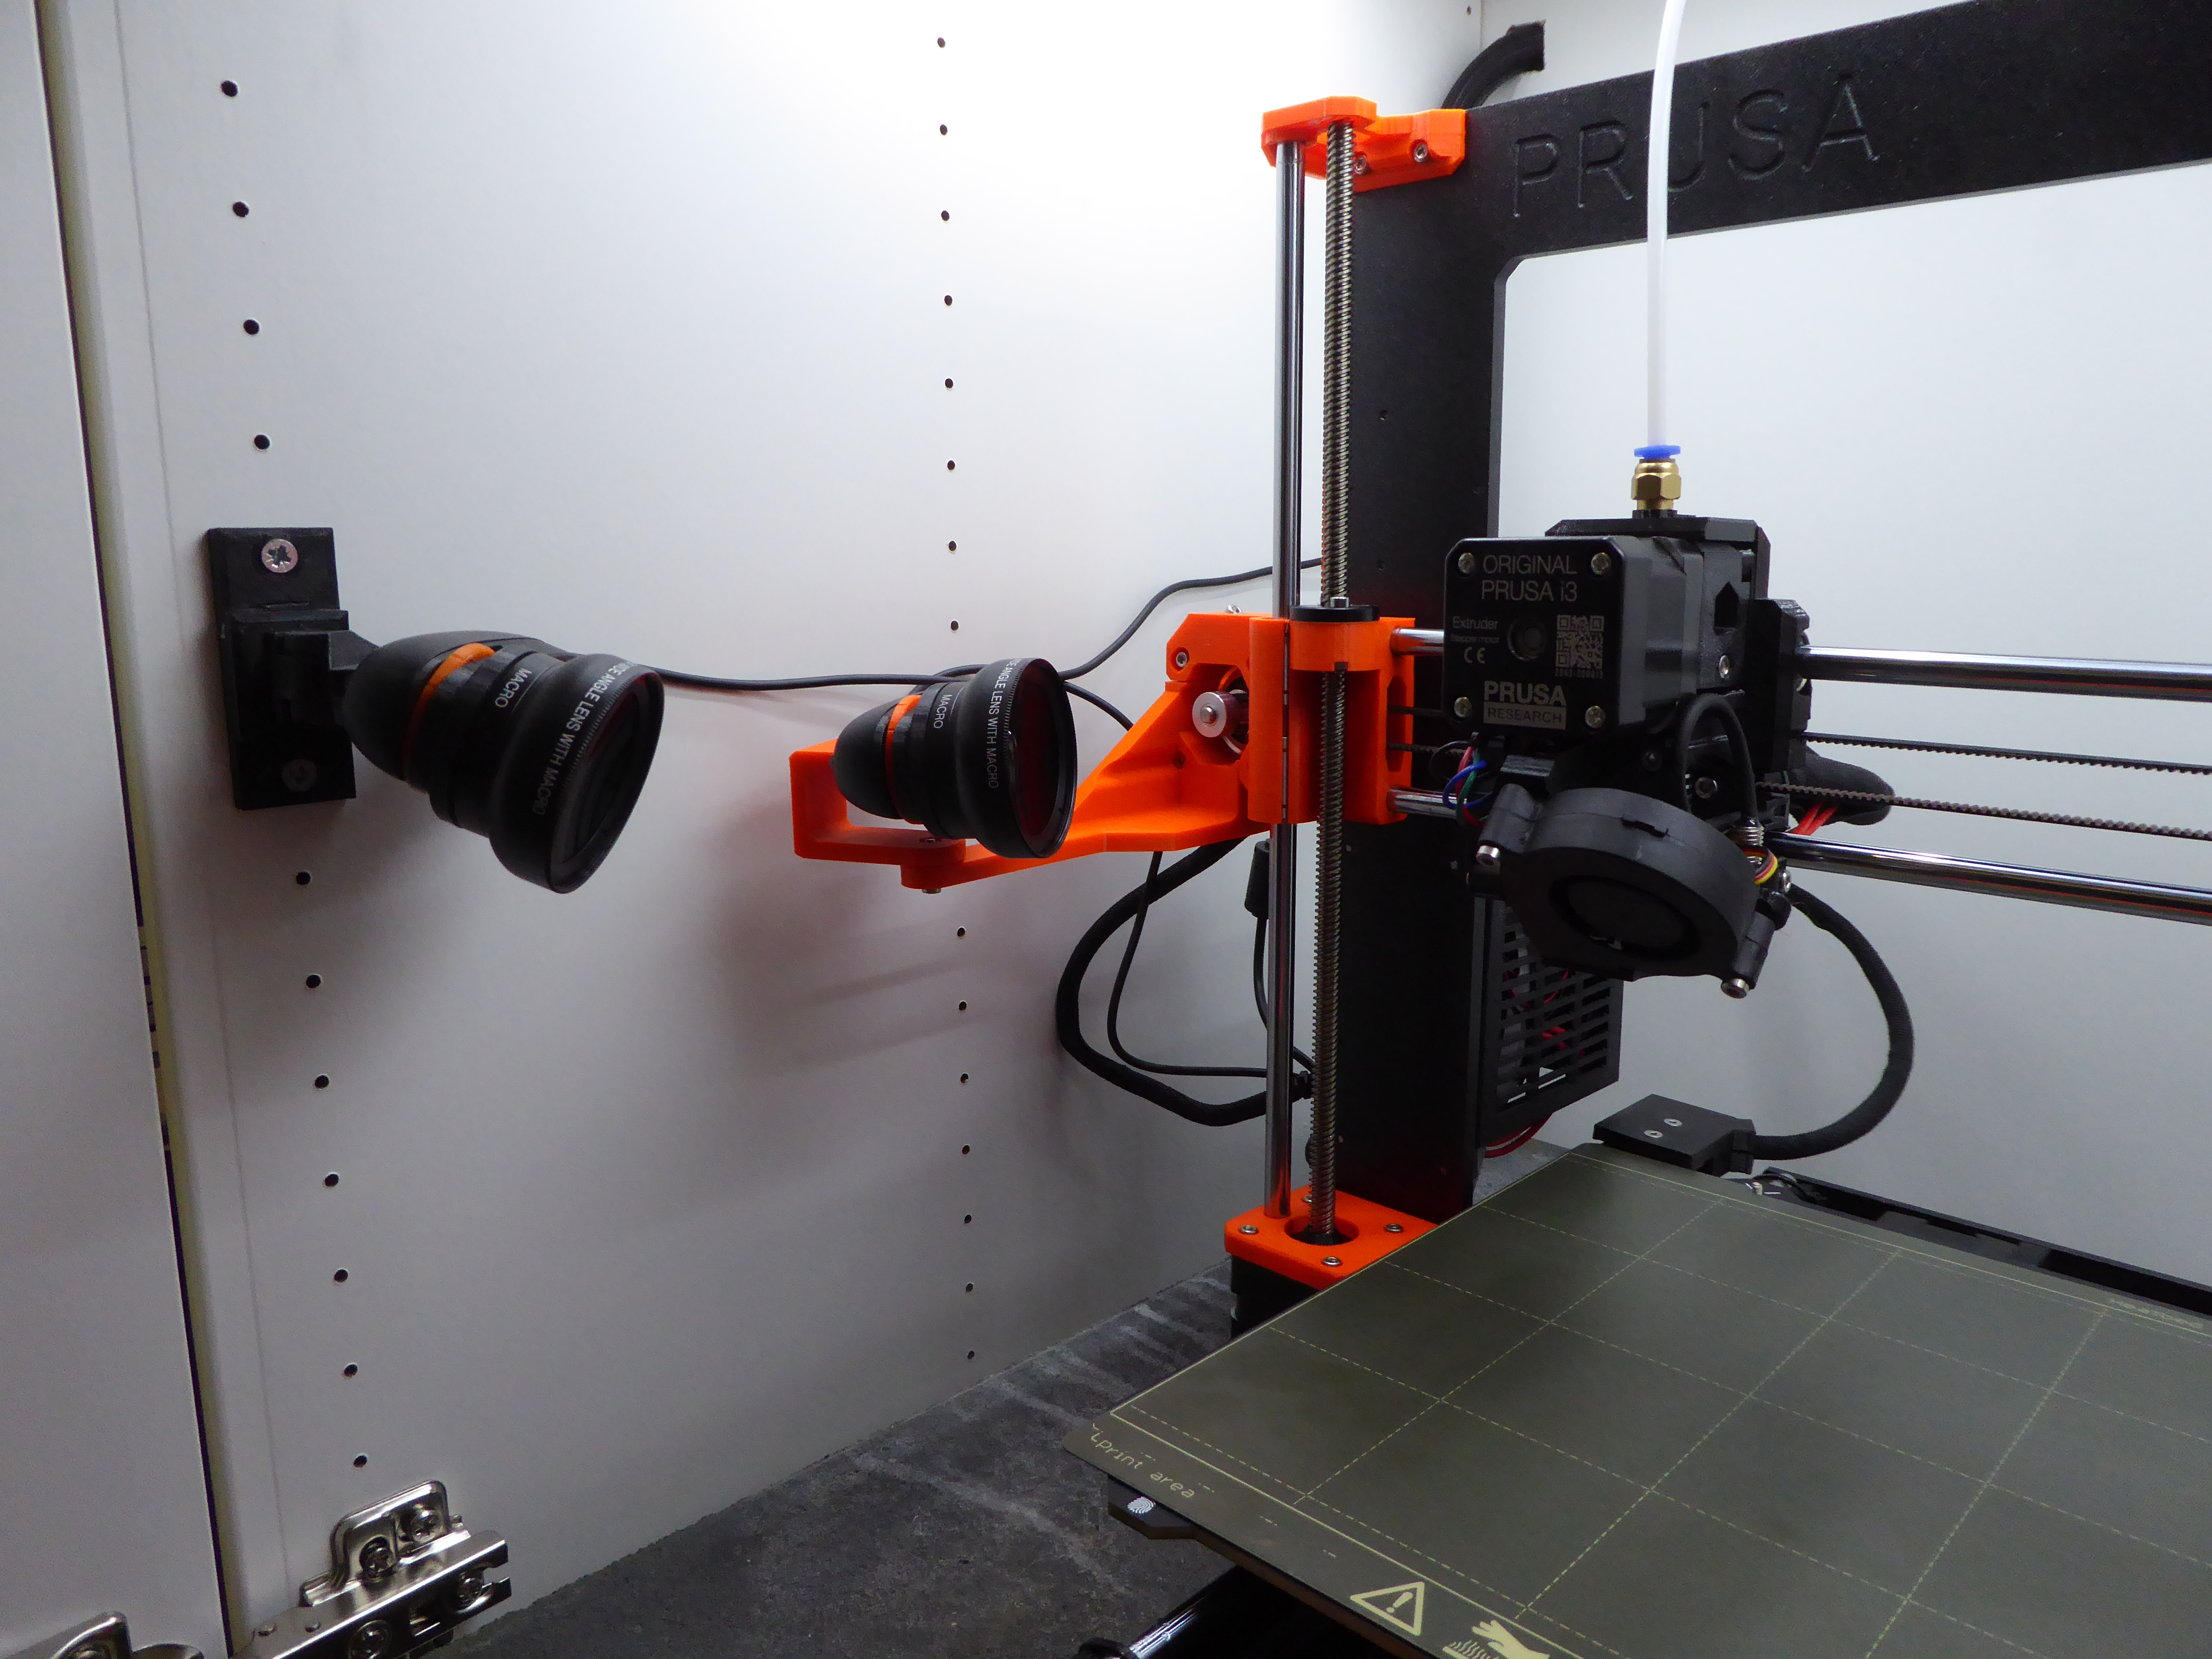
As you can see in the pictures, there are some camera’s mounted as well. I will come back to that in a next post. For now, I have a neat setup; happy camper here….
Want to respond to this post?
Look me up on GitHub,
 Facebook or
 LinkedIn.
Tags
- 3D 9
- Air Safari 19
- Australia 67
- BlackBerry 1
- Blue Sky Flying Adventures 33
- By Boat 4
- By Bus 2
- Dev Containers 3
- Domoticz 2
- Driving 31
- Facebook 1
- Flying 44
- Gallery 2 7
- Google Maps 4
- Hugo 1
- Jekyll 4
- Linux 3
- NextGEN Gallery 5
- Owning a plane 8
- Podman 3
- Red Centre Tour 19
- Singapore 3
- Tasmania 10
- USA 33
- WSL 2 4
- Walking 42
- WordPress 17